How to Make Roses out of Ribbon
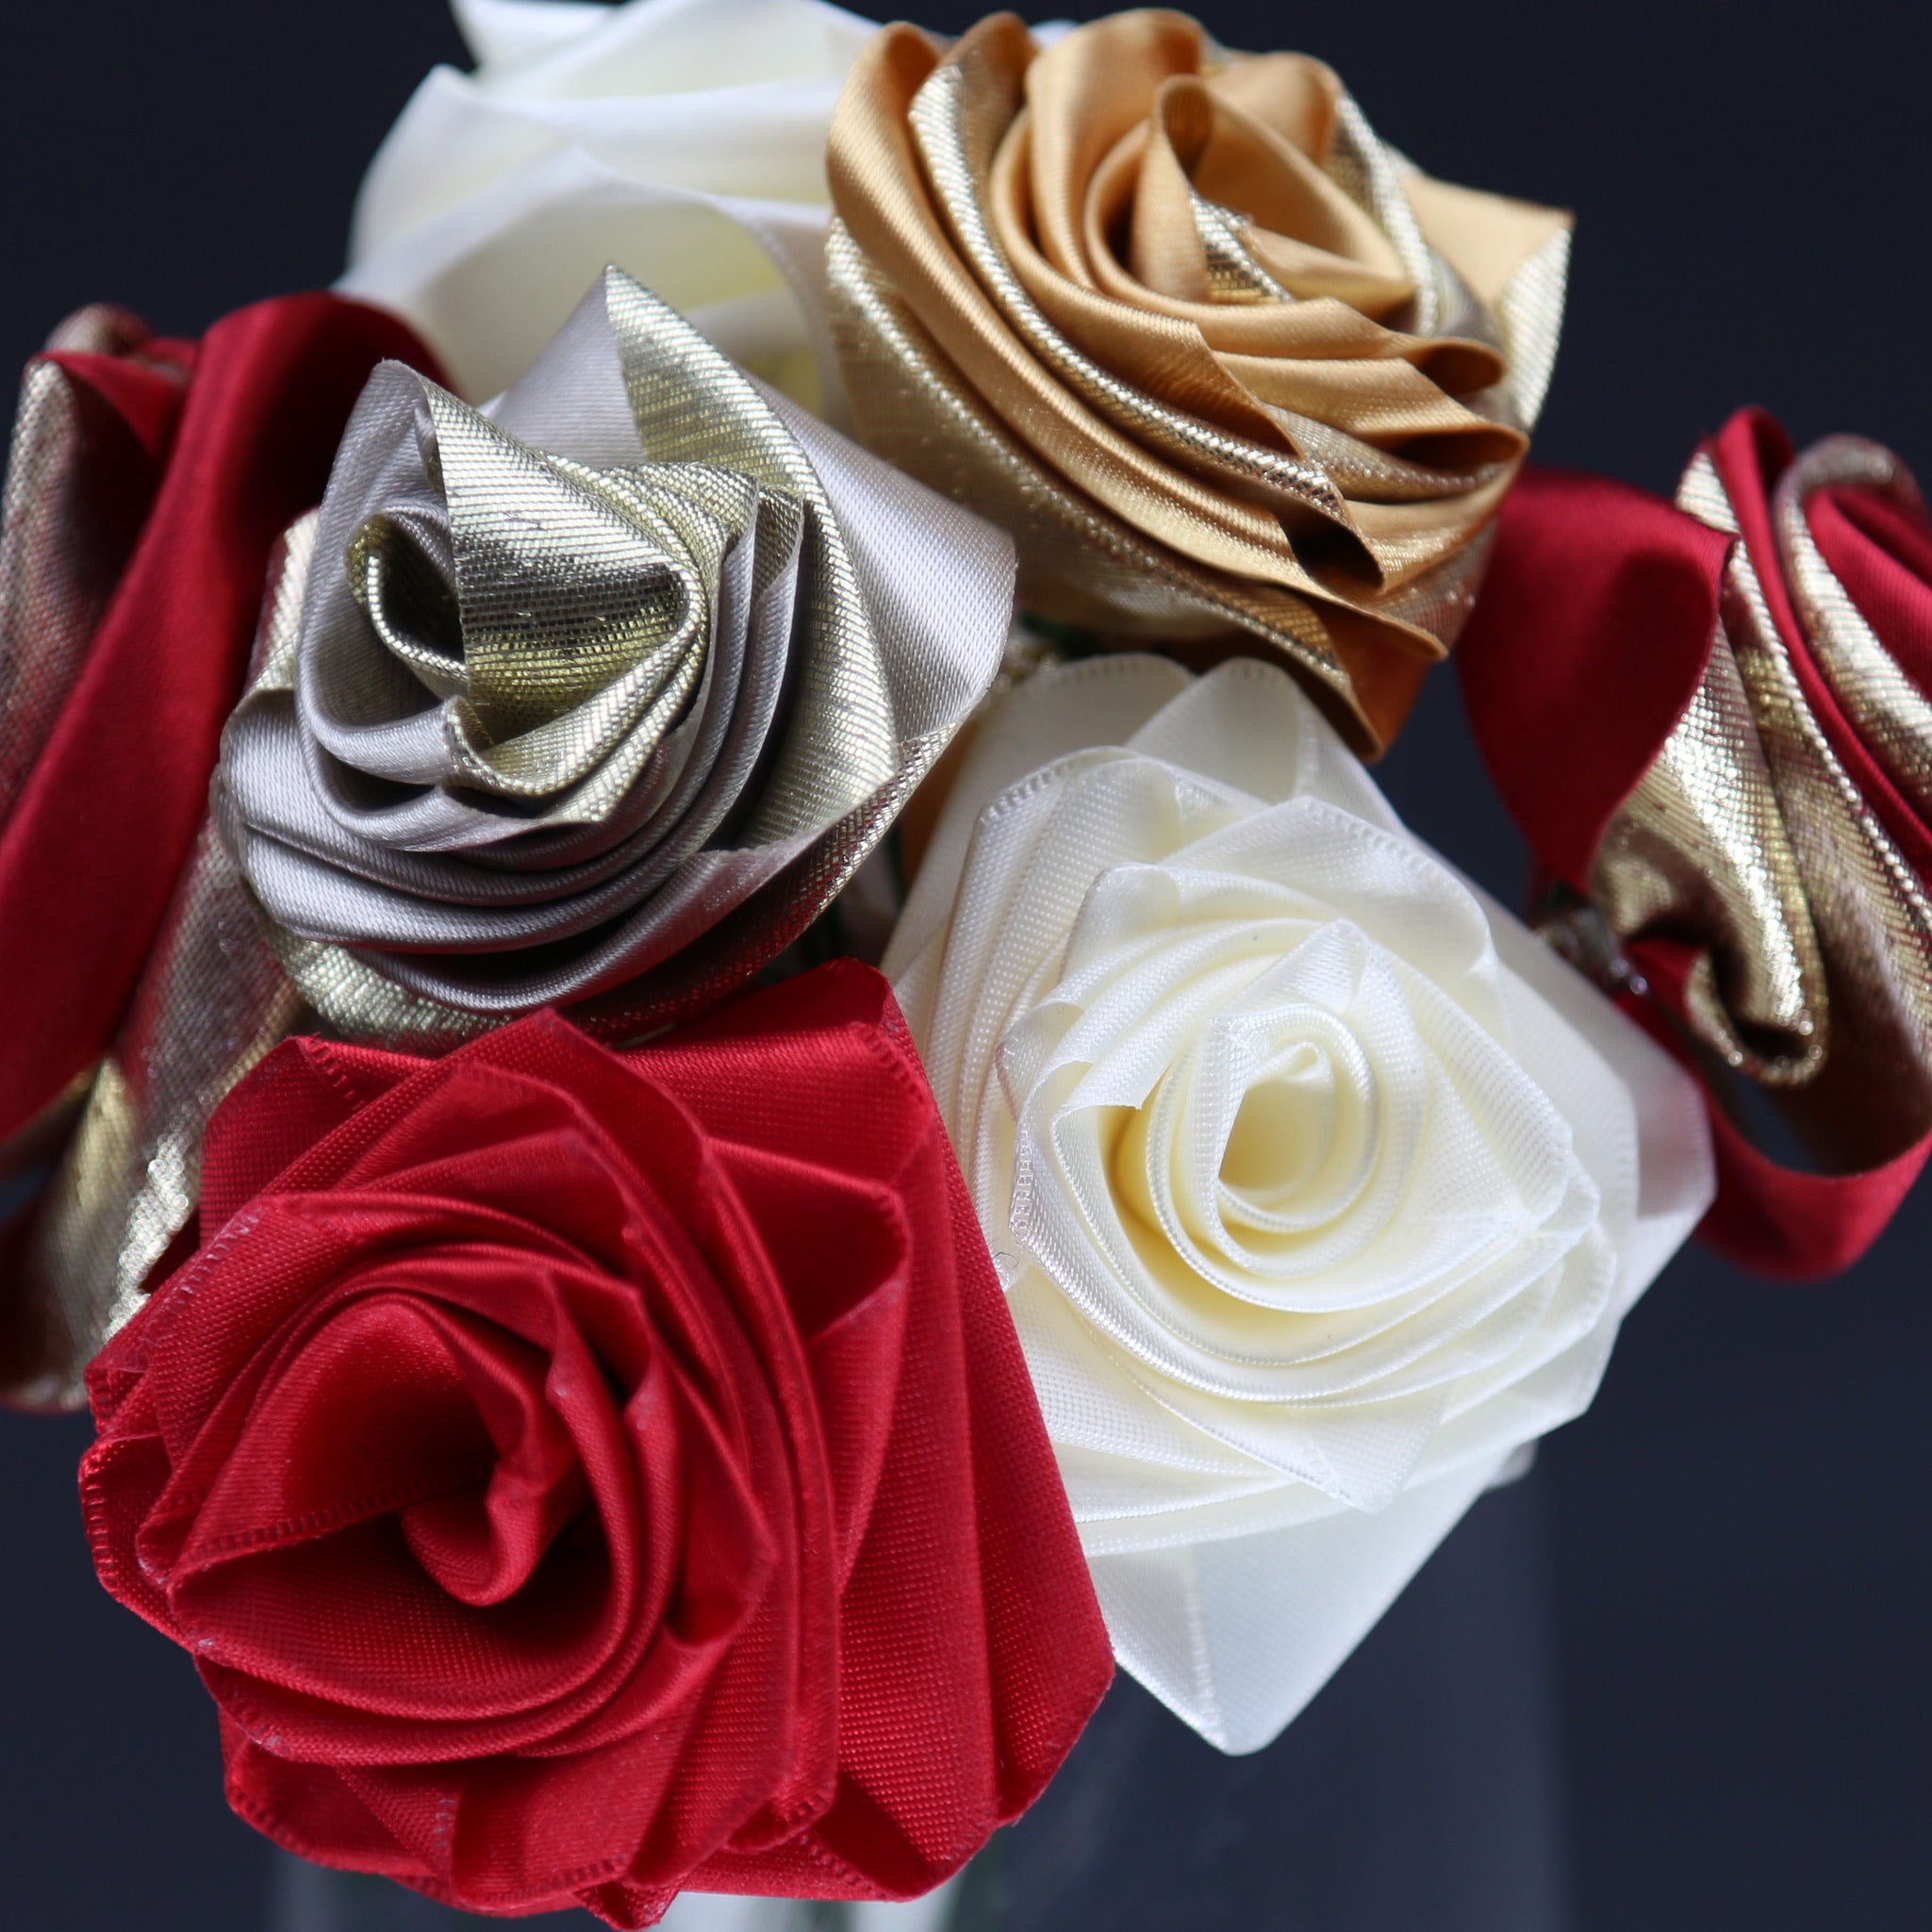
How to Make a Beautiful Rose with Ribbon.
- Cut a length of ribbon to approximately 80cms. Single Sided Satin 25mm, Double Sided Foil 25mm or our Metallic Yarn Linen work best for this technique.
- Lay the ribbon out across your table in front of you, from North to South.
- Take the end of the ribbon farthest away from you, and fold over to the right of your table, leaving approximately 7cms of ‘tail’ remaining in its original position in front of you. Crease the corner. You have formed a right angle.
- Next, take the long length of ribbon and fold it down, towards you. Crease. You will notice that you are beginning to form a square shape. The top of the square should measure approximately 2cms. Make certain to hold the shape steady with your fingers.
- Now take the long length of ribbon and fold it over to the left, back to your original starting position, creasing as you go.
- The right hand side of your square should also measure approximately 2cms. Leave a little of the original ‘tail’ mentioned in point 3, out of the square (You will understand this more easily by watching the video).
- Continue in this fashion, folding and creasing in exactly the same way, on top of the shape, until you reach the end of the ribbon. Hold your fingers steady as you work and you will end up with a neat square with a hole in the middle.
- Next, keeping a firm grip on your ribbon square, pick it up and take the end of the ribbon that you have been folding with, pinch it together, and poke it down through the middle of the central hole.
- Once the ribbon is through the hole, grasp it with your right hand and begin to twist it round, underneath your square in a clockwise circle. Do not pull on the ribbon, just gently twist.
- The centre of your rose will begin to form.
- Keeping a firm grasp of your ribbon square, carefully move your fingers holding the shape, down to the next layer of ribbon and continue to twist. As you do this, more of your rose will have begun to form. It’s very important not to be pulling, just twisting.
- Continue to carefully move your fingers down the layers one by one, releasing the ribbon and twisting as you go until your complete rose is formed.
- Once you have twisted all your ribbon use the last piece to wrap around the remaining ‘tail’ and then secure with cotton. Wrap the cotton around the base of your rose very tightly several times and tie with a double knot.
- At this point you can ‘play’ with your rose a little and gently tease out the petal layers until you are happy with how it looks.
- It really helps to watch somebody make one of these roses, so be sure to check out our video before you begin making. It can take a few goes to perfect this technique, so don’t give up! Once you’ve learned how to do it, you can use your beautiful roses to decorate a cake or a gift, attach them to a decorative wreath or garland, or simply make a bouquet.
For our video of how to make a rose from ribbon please check out our YouTube Channel. You should be able to find this by searching for ‘Ribbonly’ and clicking on our ribbon rose tutorial. Alternatively, you can find all our video’s at https://www.youtube.com/channel/UCkgK1U_sPOfTRo5rSDW_4dA/videos
We also sell Ribbon Kits for those feeling creative, including circular ribbon kits, heart ribbon kits, and rose ribbon kits.


