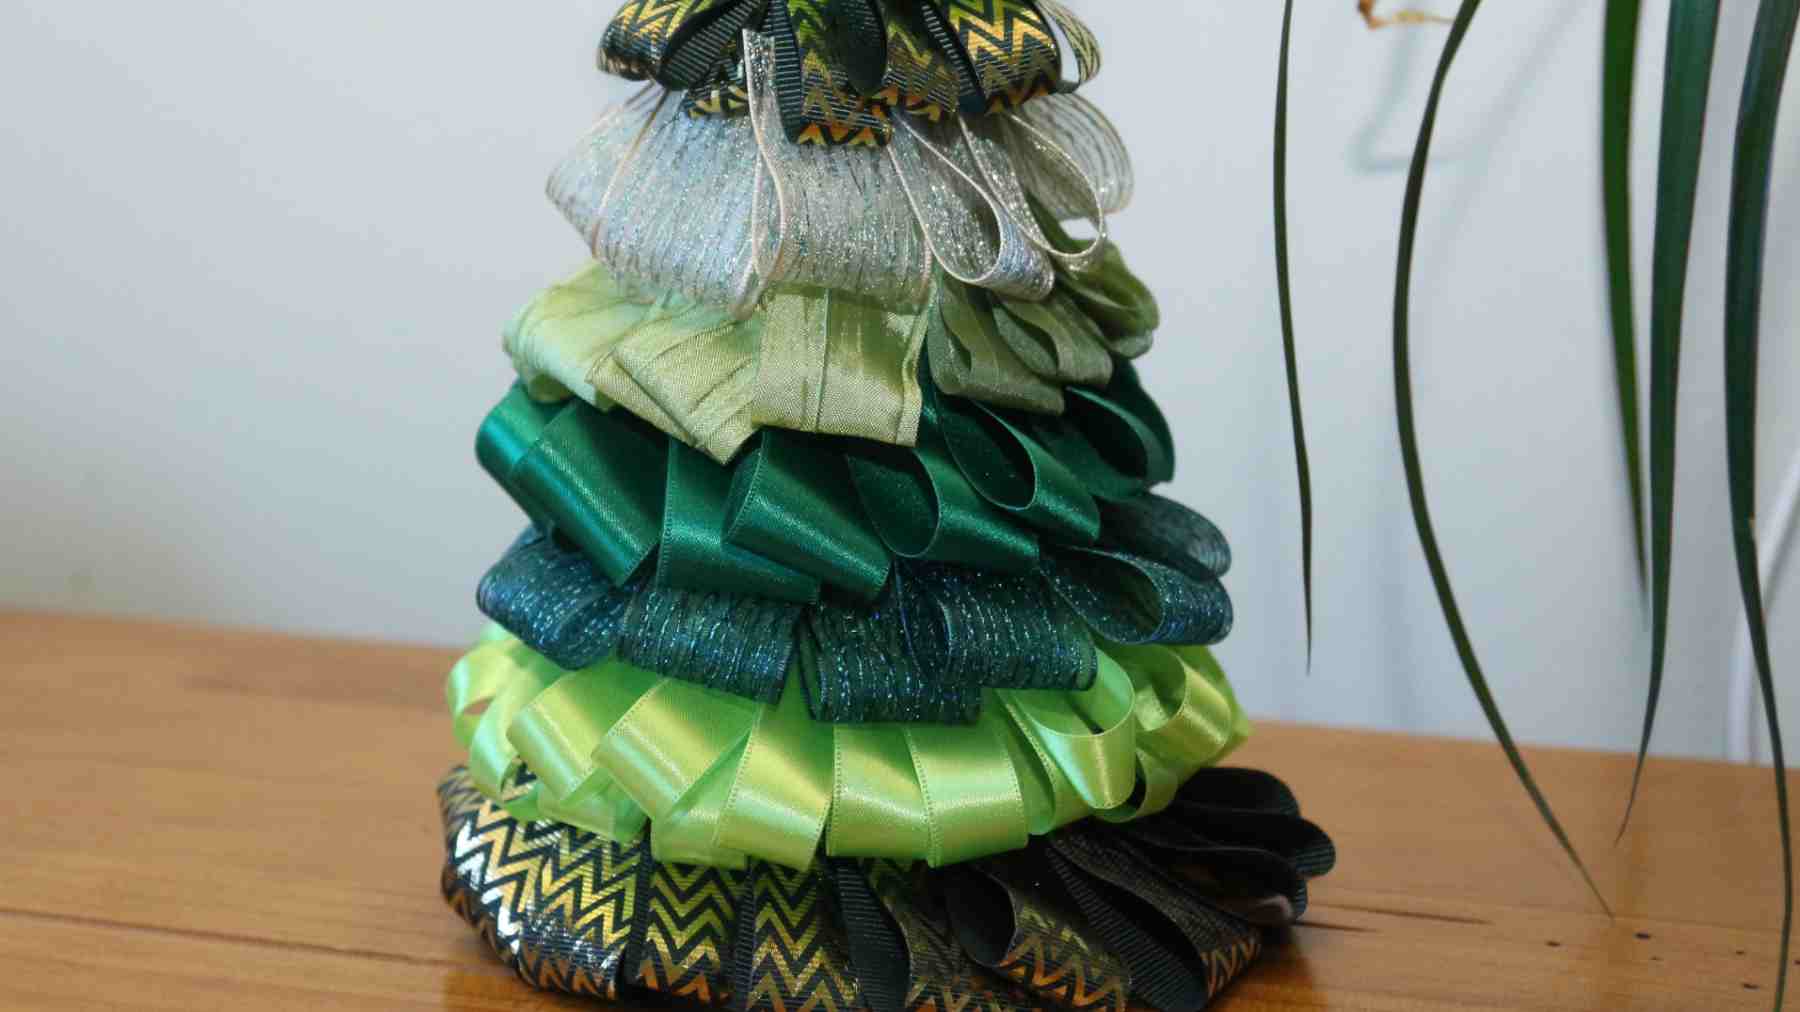
How to Make a Christmas Tree out of Ribbon
You will need:
A polystyrene cone, approx 30cms, available from any good craft shop, or online.
Sharp scissors
Sewing pins

And a selection of pretty Ribbonly ribbons; we have used our chameleon silk ribbon in the colour lime, our single sided satin ribbon in Kiwi and Emerald, our Zig Zag grosgrain ribbon in Holly and our gorgeous metallic strips organza's in Sand and Peacock.

Begin by measuring lengths of ribbon approx 10cms long 
Starting at the bottom of the cone, fold a length of ribbon in half, into a loop, and attach firmly with a pin at the top. 
Continue to do this around the base until you have completed a full circle of loops, making sure to overlap the ribbons alongside each other a little, to give maximum coverage.

Select your next ribbon and continue pinning loops around the cone. This time, pin the loops so that they cover the top of the previous row, thus hiding the pins. 
Again, overlap slightly as you go. 
Continue to build your layers up.

Once you get to the top of the tree, you might find it useful to cut the top of your loops into a point. This will create less bulk at the top.  Next, tie a small bow.

And attach to the top of your tree with a pin, or glue. 
We’ve made our tree in traditional green, but we have a beautiful selection of pinks, blues, purples, silvers, golds and so much more at our online shop.
Make a Ribbonly Ribbon Christmas tree to compliment your theme this Festive Season.


