DIY Ribbon Chandelier
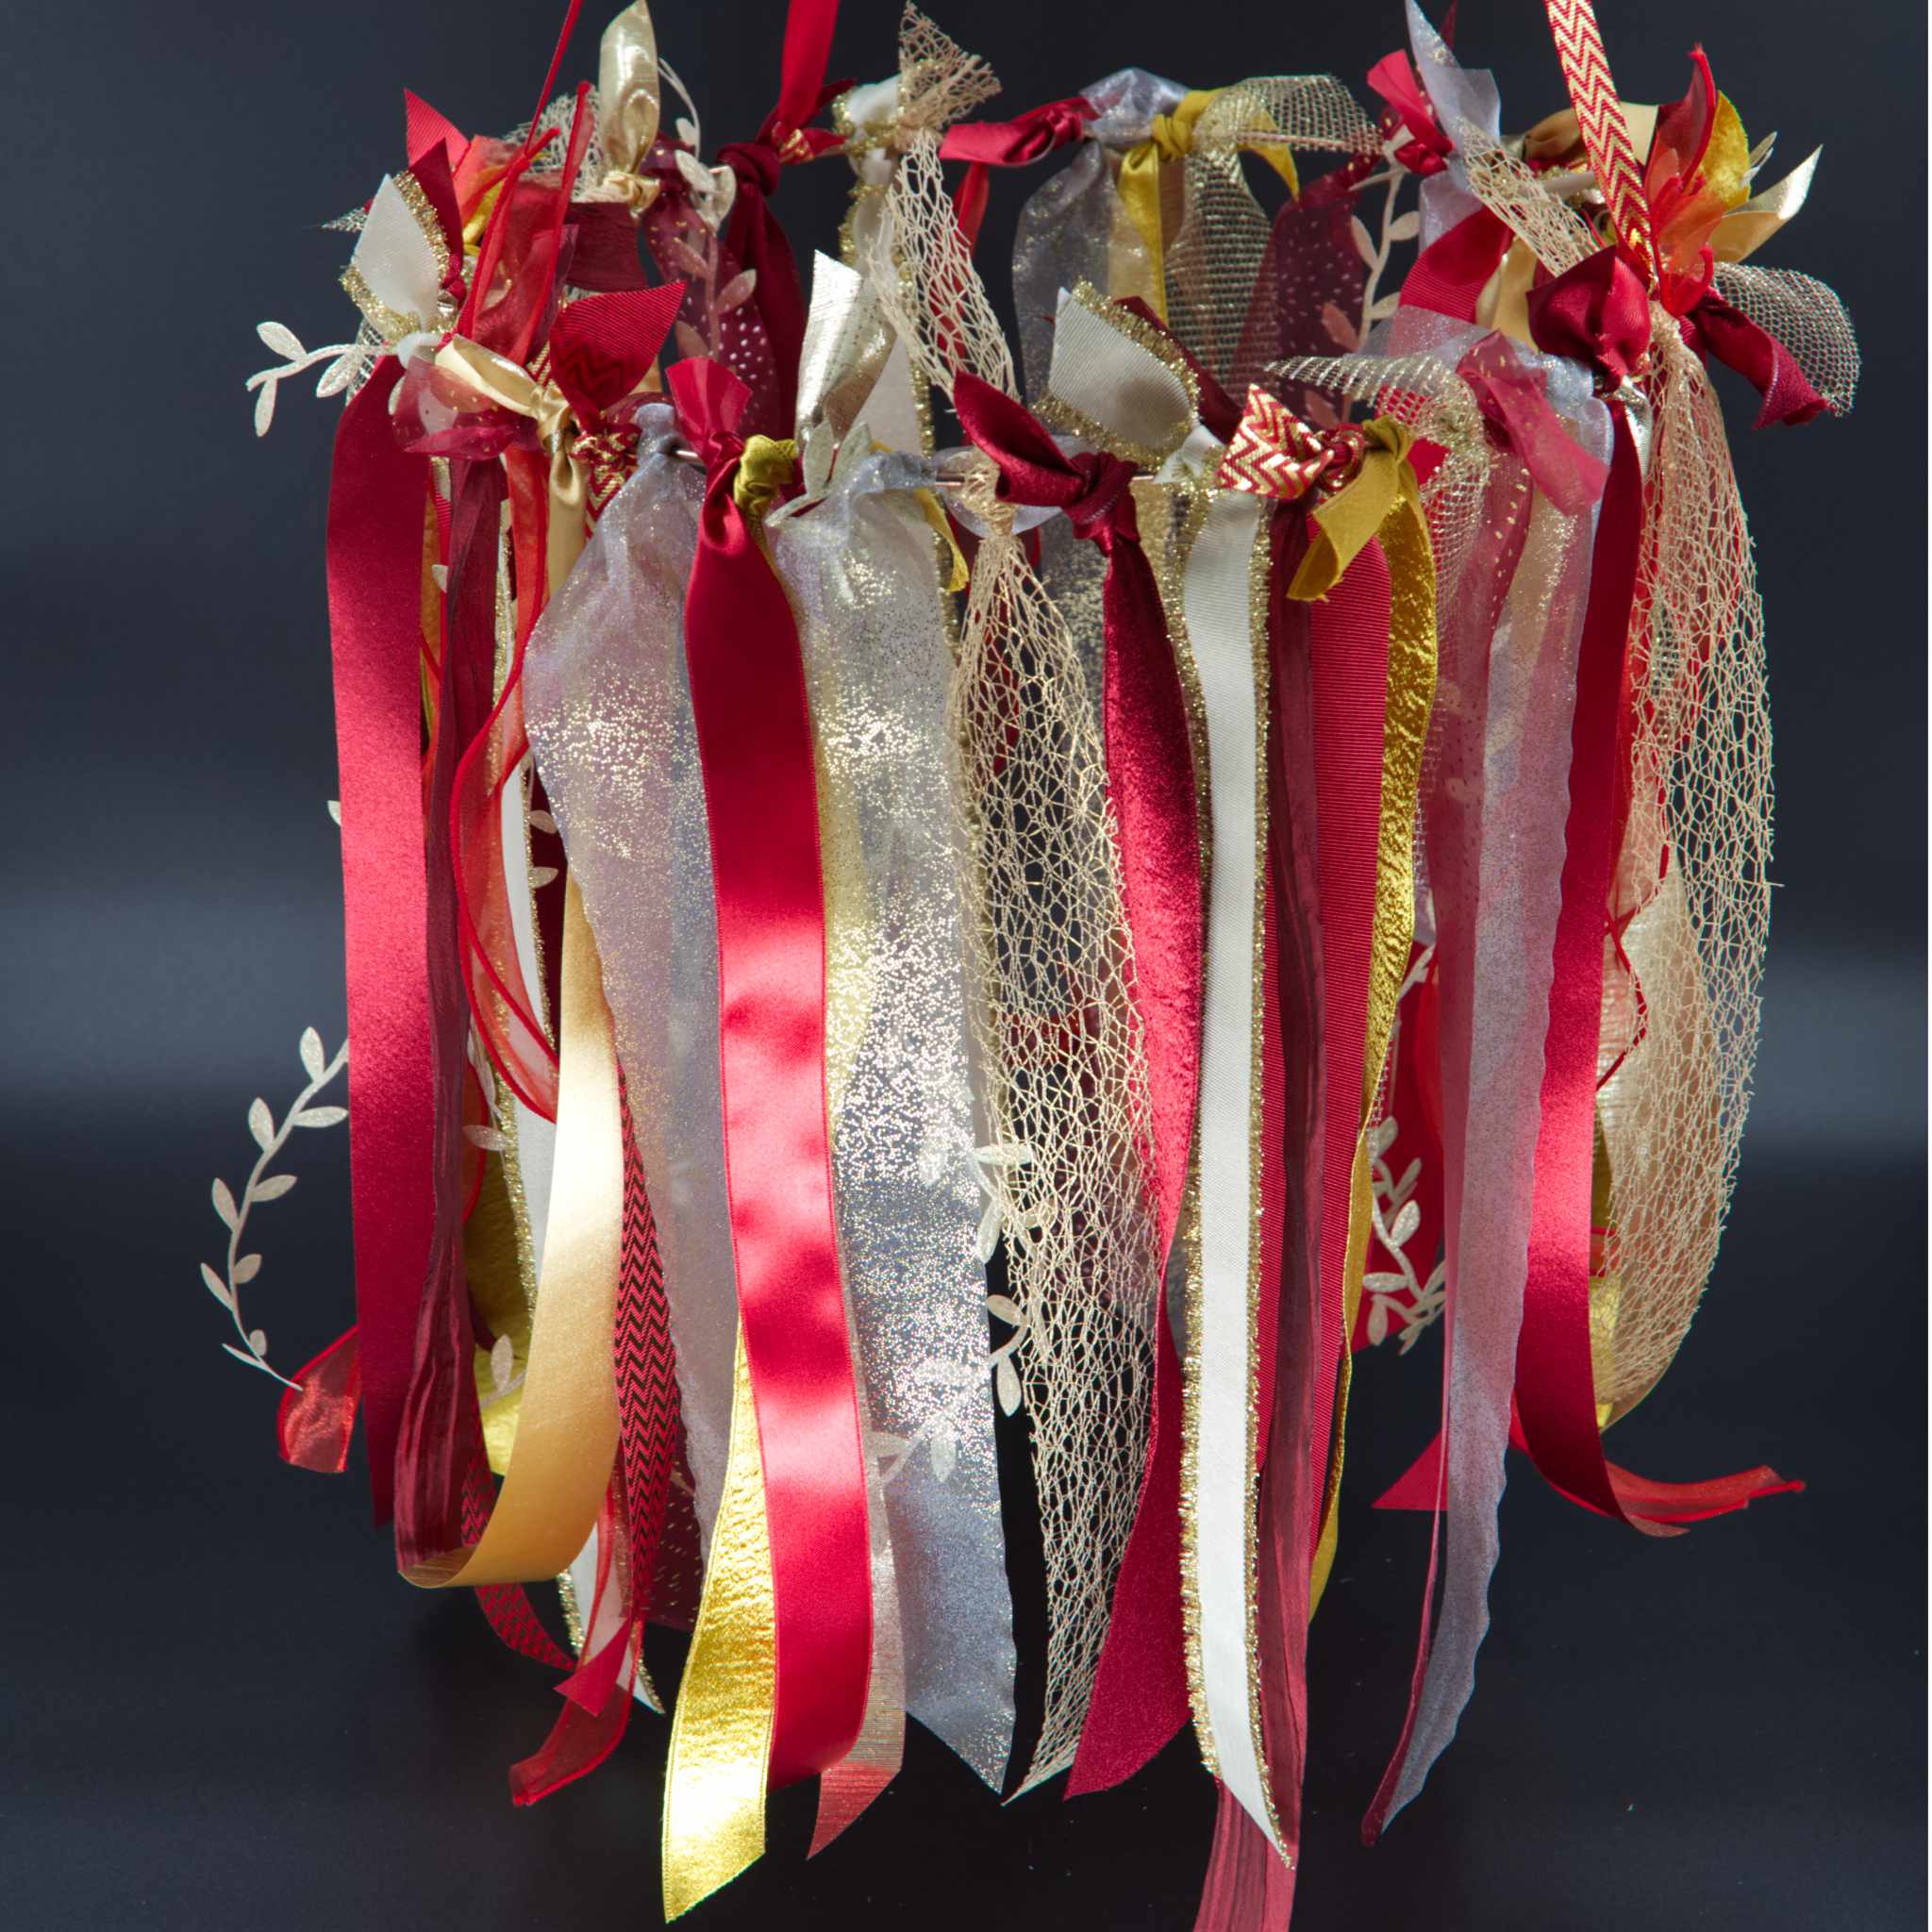
Ribbon Chandeliers are the perfect way to add some DIY glamour to your special event. This chandelier is so easy to make and is inexpensive compared to party decorations you can buy on the shelf, plus you get the pleasure of making it!
1)You will need a ring to make your chandelier. We used a 30 cm crochet ring.

2) Next choose a selection of ribbons. We chose red and gold for Chinese New Year. Try to include a variety of textures as it will add interest to your chandelier.

3)Cut your ribbons to the desired length. It will all depend upon where you are going to hang your chandelier as to how long they will be. Make sure to cut your ribbon on a diagonal to give a nice finish when it is hanging.

4) Next tie your ribbons with a single knot, one by one onto your ring. Vary up the colours and textures as you go.

5)Push your ribbons close together and continue in this way all the way around your ring.

6)Remember to add 3 or 4 longer ribbons as you work your way around your ring. These will be the ribbons that you will hang your chandelier from. Keep going until……..

Your chandelier looks like this!!


